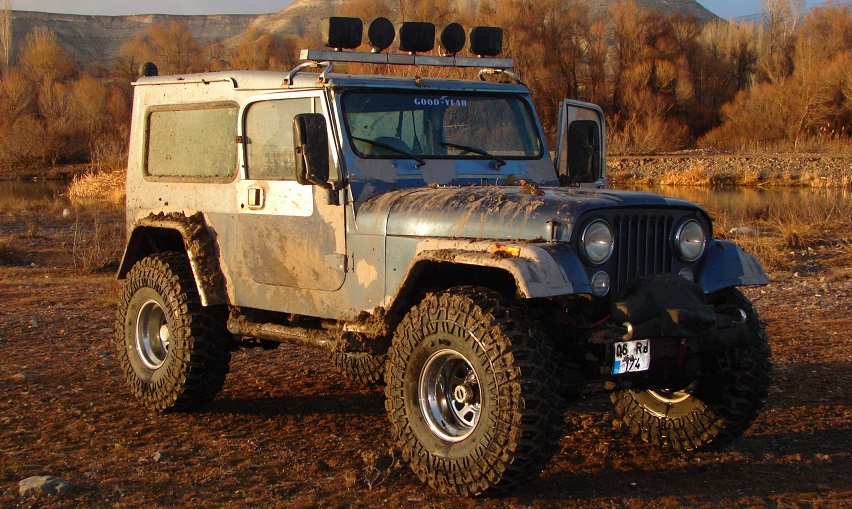
How to Change the Transmission Fluid in a Jeep Wrangler
Jeep Wrangler ‘Maintenance Schedule’ Series
If you own a Jeep Wrangler, you know how important it is to maintain your vehicle regularly to ensure it runs smoothly. One crucial aspect of Jeep maintenance is changing the transmission fluid. Regularly changing your Jeep’s transmission fluid will help extend the life of your vehicle and improve its performance. In this installment of the Jeep Wrangler ‘Maintenance Schedule’ Series, we’ll take you through the process of changing the transmission fluid in your Jeep Wrangler, step by step.
Section 1: Why Change Your Jeep’s Transmission Fluid
Regularly changing your Jeep Wrangler transmission fluid is essential to keep your vehicle running smoothly. Over time, your Jeep’s transmission fluid can become dirty and contaminated with metal shavings, dirt, and other debris. This can cause your transmission to shift poorly, or worse, cause damage to your transmission.
Old transmission fluid can also cause your transmission to overheat, leading to costly repairs. In addition to keeping your transmission running smoothly, regularly changing your Jeep’s transmission fluid can also improve fuel efficiency, which is especially important if you take your Jeep on off-road adventures where gas stations may not be readily available.
Section 2: When to Change Your Transmission Fluid
The frequency at which you should change your Jeep Wrangler’s transmission fluid depends on several factors, including the age of your vehicle, how often you drive it, and how hard you drive it. A good rule of thumb is to change your transmission fluid every 30,000 to 60,000 miles, but you should always consult your owner’s manual for specific recommendations.
If you frequently use your Jeep for off-roading or towing, you may need to change your transmission fluid more frequently. You should also consider changing your transmission fluid if you notice any problems with your Jeep’s transmission, such as difficulty shifting or unusual noises.
Step 3: Gather Your Materials
Before you get started, you’ll need to gather some materials. First, you’ll need a few basic tools to complete the job. This typically includes a socket wrench, and a drain pan. You may also need a funnel and a filter wrench, depending on the specific model of your Jeep.
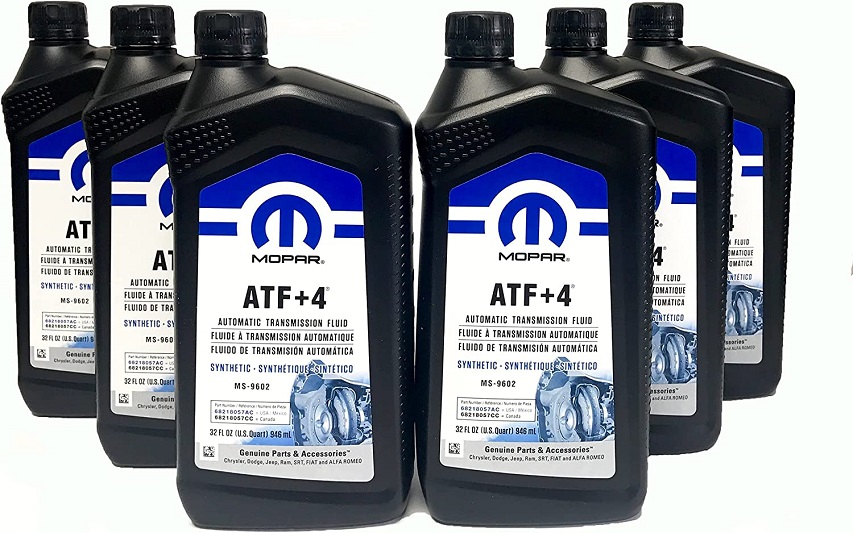
Next, it’s important to determine the correct type of transmission fluid for your Jeep. This information can typically be found in your owner’s manual or by contacting a trusted mechanic or dealership. Using the wrong type of fluid can lead to transmission damage and other issues, so it’s crucial to get this step right.
In addition to the type of fluid, you’ll also want to consider the brand and quality of fluid that you use. Some brands may offer better performance or protection than others, and choosing a high-quality fluid can help prolong the life of your transmission. Again, consulting with a mechanic or dealership can be helpful in determining the best fluid for your Jeep Wrangler.
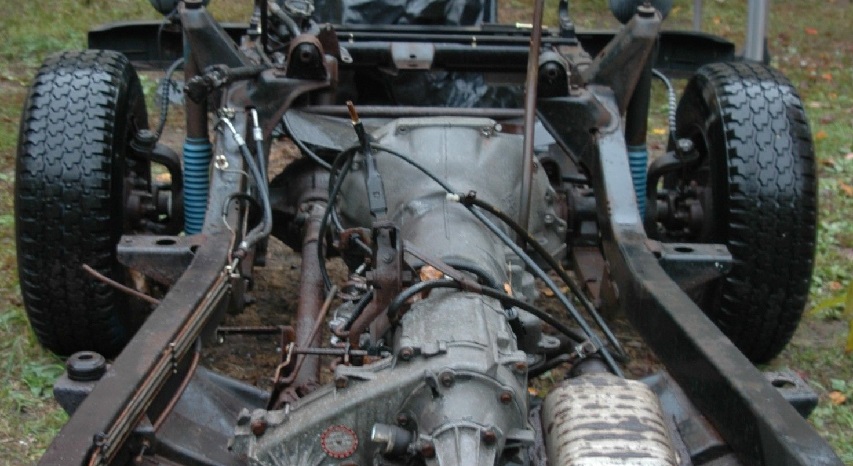
Step 4: Locate the Drain Plug
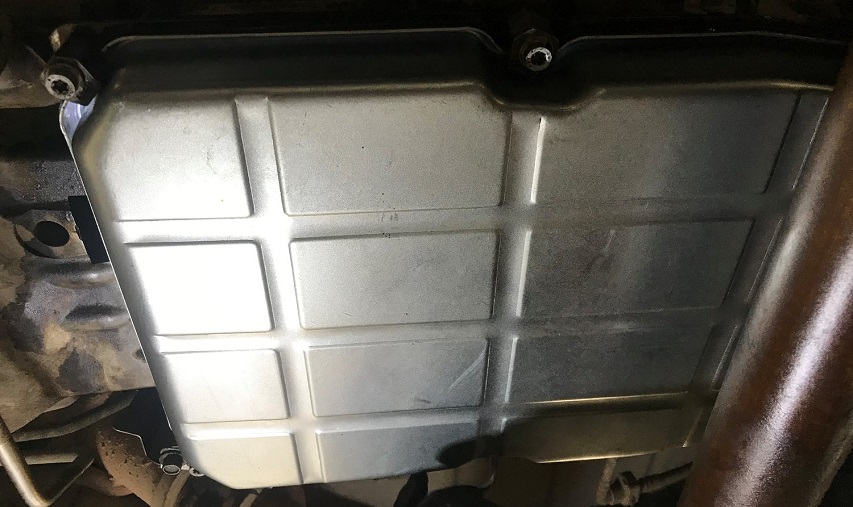
To locate the drain plug, you’ll need to crawl underneath the vehicle and look for the transmission pan. The transmission pan is a large, rectangular-shaped metal container located towards the rear of the vehicle. It is usually held in place by bolts or other fasteners.
Once you’ve located the transmission pan, look for a small, round plug located at the bottom of the pan. This is the drain plug. It may be located in the center or towards one side of the pan, depending on the model of your Jeep Wrangler.
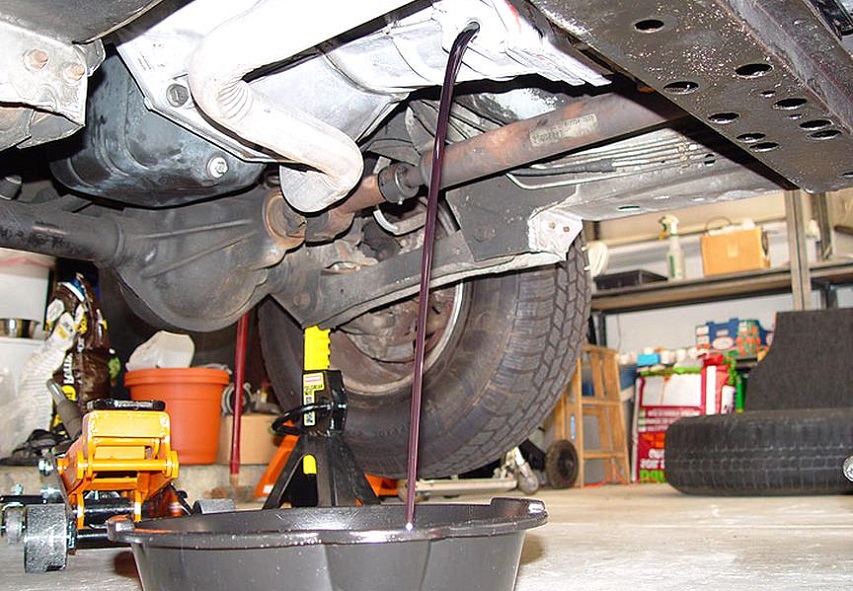
It’s important to note that the drain plug may be tight or difficult to remove, especially if it hasn’t been removed in a long time. Use a socket wrench to carefully loosen the plug, taking care not to strip the threads or damage the pan. If the plug is particularly stubborn, a penetrating oil or heat gun may be necessary to help loosen it.
Once the drain plug is removed, be sure to position the drain pan directly underneath it to catch the old fluid as it drains out. Keep in mind that the old fluid may be hot, so use caution when working in this area. Once the old fluid has drained out, replace the drain plug and move on to the next step in the process.
Step 5: Remove the Transmission Pan
Before you begin, make sure you have the proper tools and materials on hand. You’ll need a socket wrench set, a new transmission filter, and a gasket scraper or other tool to remove the old gasket. You may also want to have a container to catch any additional fluid that may drain out when you remove the pan.
To remove the transmission pan and filter, start by removing the bolts or fasteners that hold the pan in place. These bolts or fasteners may be located around the perimeter of the pan or towards the center, depending on the model of your Jeep Wrangler.
Once the bolts or fasteners are removed, carefully lower the pan down to remove it from the vehicle. Keep in mind that there may still be some fluid inside the pan, so use caution to avoid spilling it. You may also need to gently pry the pan loose if it is stuck in place.
Step 6: Remove the Transmission Filter
With the pan removed, you’ll be able to access the transmission filter. The filter is usually located inside the transmission and may be held in place by a clip or other fastener. Carefully remove the filter and dispose of it properly.
Next, use a gasket scraper or other tool to remove the old gasket from the transmission pan. Be careful not to damage the pan or leave any debris behind that could interfere with the new gasket. Once the old gasket is removed, clean the pan thoroughly with a solvent or other cleaning agent to remove any remaining debris or residue.
Finally, install the new transmission filter and gasket according to the manufacturer’s instructions, and carefully reattach the pan to the vehicle. Be sure to tighten the bolts or fasteners securely, but don’t over-tighten them, as this can damage the pan or create a leak. With the pan and filter in place, you’re ready to move on to the next step in the process.
Step 7: Install the New Filter
To install the new filter, first make sure you have the right replacement filter for your specific make and model of Jeep Wrangler. Check the owner’s manual or consult with a mechanic if you’re not sure which filter to use. Then, carefully insert the new filter into the transmission, making sure it fits snugly and securely. The filter may be held in place by a clip or other fastener, which you should also secure tightly. Be sure to follow the manufacturer’s instructions to ensure that the filter is properly installed.
Once the new filter is in place, you may also need to replace any additional components that were removed during the process, such as O-rings or gaskets. Again, consult the owner’s manual or a trusted mechanic to ensure that you have the right replacement parts for your specific Jeep Wrangler model. Finally, double-check that all components are installed securely and that all fasteners are tightened to the proper torque specifications. With the new filter installed and all other components back in place, you’re ready to move on to the final step in the process of changing the transmission fluid in your Jeep Wrangler.
Step 8: Replace the Transmission Pan
Before replacing the transmission pan, make sure that the old gasket has been completely removed and that the mating surface of the transmission housing is clean and free of debris. Then, carefully position the new gasket on the transmission pan, making sure that it lines up with the bolt holes. Some gaskets may require a small amount of gasket sealer to ensure a proper seal; consult the manufacturer’s instructions to determine if this is necessary for your specific gasket. Once the gasket is in place, carefully position the transmission pan over the mounting bolts and tighten them evenly and gradually, starting at the center of the pan and working your way outward. Tighten the bolts to the manufacturer’s recommended torque specifications, being careful not to over-tighten or strip the bolts.
Step 9: Refill the Transmission with Fluid
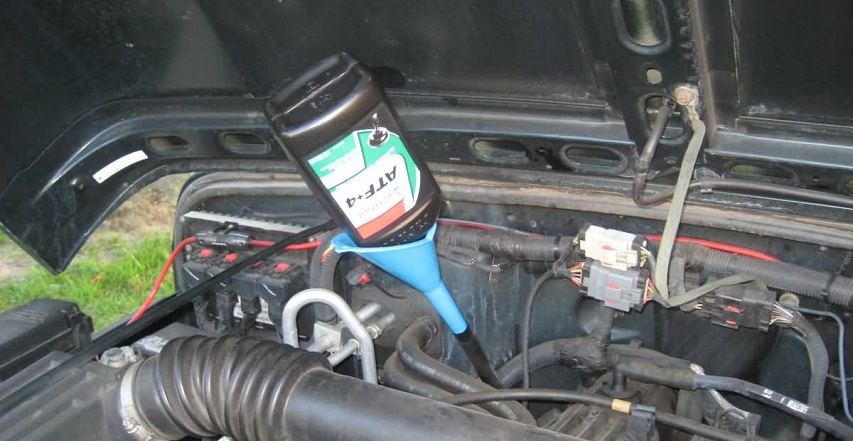
First, locate the transmission fluid dipstick and remove it. Using a funnel, carefully pour the recommended amount of fresh transmission fluid into the transmission through the dipstick tube. Be sure to use the appropriate type of fluid for your Jeep’s transmission; this information can be found in your owner’s manual or by consulting with a mechanic or parts supplier. It’s generally a good idea to start with a smaller amount of fluid than recommended, and then add more gradually as needed, checking the fluid level with the dipstick periodically. This will help prevent overfilling the transmission, which can cause leaks or other problems.
Once you have added the appropriate amount of transmission fluid, replace the dipstick and start the engine. Let the engine run for a few minutes to allow the transmission fluid to circulate throughout the system. Once the engine is at operating temperature, then check the fluid level with the dipstick. The fluid level should be within the “full” range, but not above it. If the level is too low, add more transmission fluid as needed, but be careful not to overfill. Overfilling the transmission can cause damage to the system, so keep the fluid level within the recommended range.
The fluid should be checked with the engine running while in either Park or Neutral, depending on the transmission type. After adding more fluid as needed, re-check the fluid. When the transmission fluid level is correct, shut off the engine and replace the dipstick.
Step 10: Check the Fluid Level and Test Drive
Next, take your Jeep for a test drive to ensure that the transmission is working properly. Shift through all the gears, including reverse, and note any unusual noises, vibrations, or other issues. If you notice any problems, such as slipping gears or difficulty shifting, take your Jeep to a mechanic. Additionally, pay attention to how the Jeep feels and drives overall, as well as its fuel economy. If you notice any significant changes or issues, it may be a sign of a larger problem that requires attention.
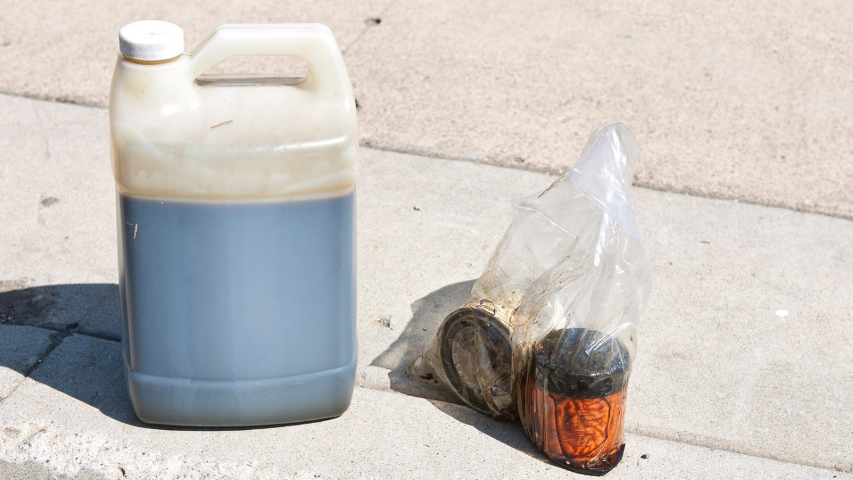
Step 11: Dispose of the old transmission fluid properly
Properly disposing of the old transmission fluid is important. It ensures no harm to the environment or violation of any laws.
First, it is important to store the old transmission fluid in a safe and secure container. Look for a container that is specifically designed for holding automotive fluids and make sure it has a tight-fitting lid. Avoid using plastic containers that may become brittle or leak over time. It’s also a good idea to label the container clearly as “used transmission fluid” to avoid confusion or accidental spills.
Next, take the old transmission fluid to a recycling or disposal center that accepts automotive fluids. Many auto parts stores or repair shops offer recycling services for used fluids. Some municipalities even have household hazardous waste collection centers that accept automotive fluids. Contact your local waste management facility to find out where you can take your used transmission fluid for disposal. Pouring used transmission fluid down the drain or onto the ground can contaminate the soil and water supply. This can cause serious harm to the environment. Properly disposing of the old transmission fluid helps protect the environment and ensures compliance with local laws.
You’re Done!
In conclusion, changing the transmission fluid in your Jeep Wrangler is an important part of maintaining your vehicle’s performance. With the right tools and a little bit of know-how, you can easily do it yourself. Remember to always follow safety precautions and refer to your owner’s manual for specific instructions and recommendations.